Configuration wizard
Configuration Wizard
Section titled “Configuration Wizard”Once all the containers are started, we can navigate to the IP address of the server. This will prompt us with the initial installation wizard.
Step 1. Go To the Report-Engine installation wizzard
Section titled “Step 1. Go To the Report-Engine installation wizzard”Open your web browser and navigate to http://<your-server-ip>.
You will be greeted with the installation wizard to configure the Report-Engine application.
Step 2. Application Details
Section titled “Step 2. Application Details”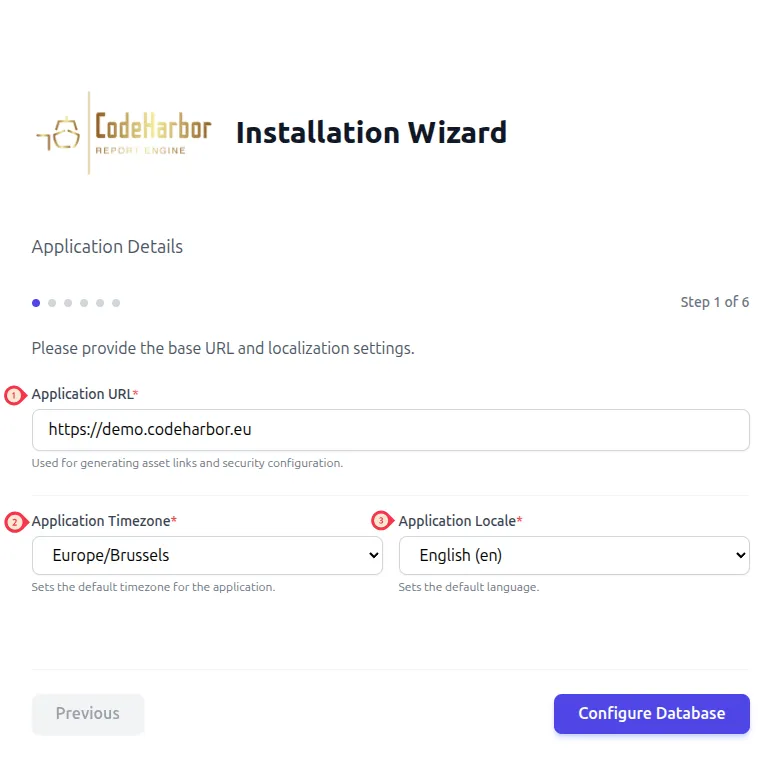
- Provide the base URL on which the application will listen on.
- The timezone is important for scheduling reports.
- Select the application locale (currently only English is supported).
Step 3. Database Configuration
Section titled “Step 3. Database Configuration”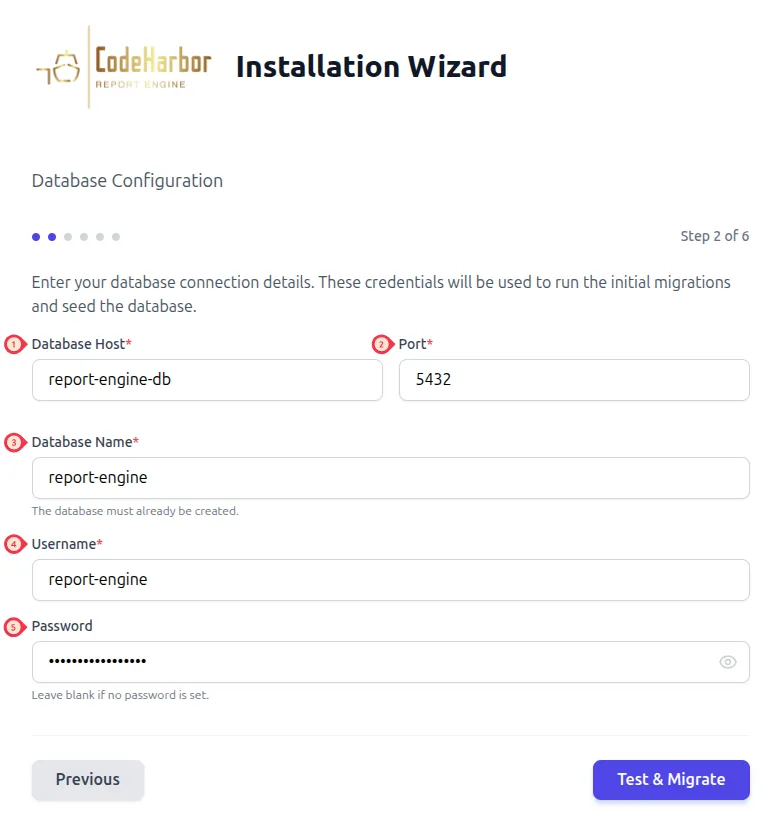
- Provide the database host details (IP/FQDN).
- Provide the port where the database is listening on.
- Provide the database name that can be used for the Report-Engine Application.
- Provide the username for the given database.
- Provide the password for the given user.
Step 4. Redis Caching Configuration
Section titled “Step 4. Redis Caching Configuration”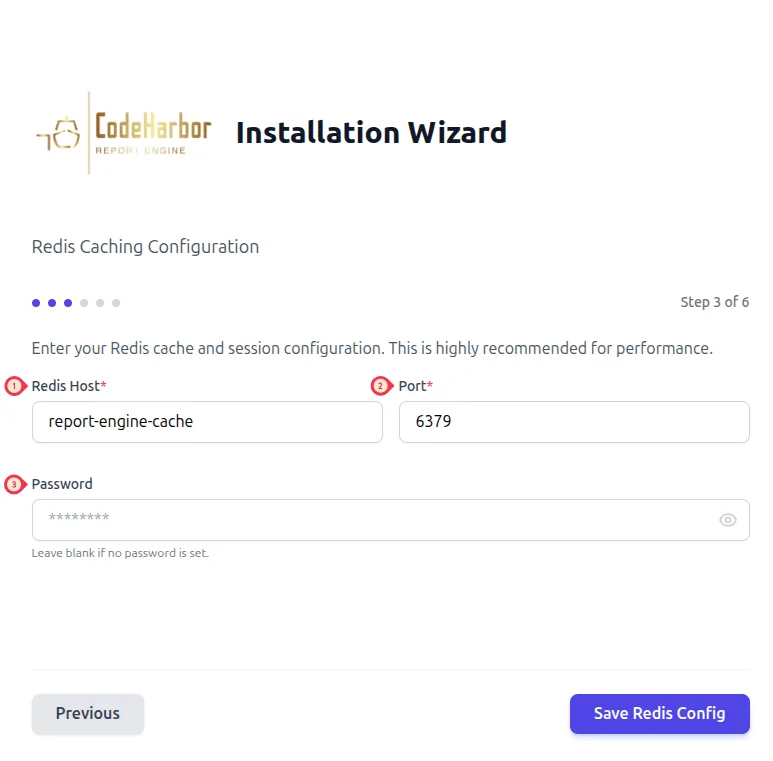
- Provide the Redis host details (IP/FQDN).
- Provide the port where the Redis instance is listening on.
- Optional - Provide the password for the Redis instance.
Step 5. Mail Server Configuration
Section titled “Step 5. Mail Server Configuration”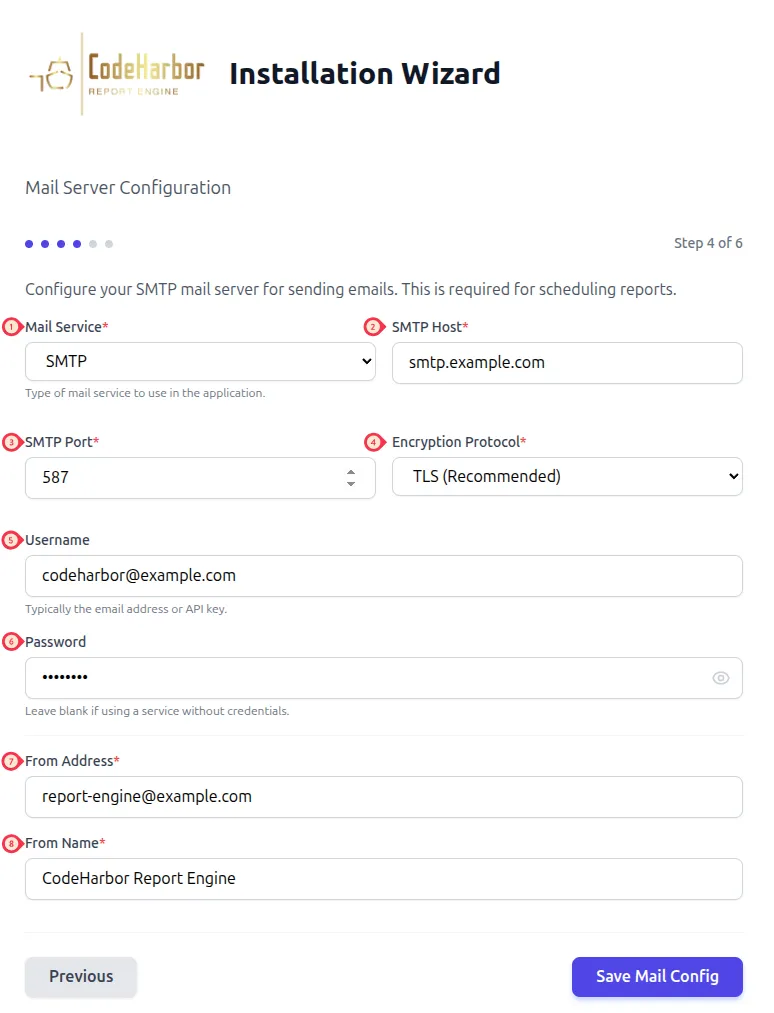
- Provide Mail service to use.
- Provide the SMTP host details (IP/FQDN).
- Provide the SMTP Port.
- Provide the encryption type (None/SSL/TLS).
- Optional - Provide the username if the SMTP server requires authentication.
- Optional - Provide the password if the SMTP server requires authentication.
- Provide the From Address that will be used for report scheduling.
- Porvide the From Name that will be displayed for report scheduling.
Step 6. Admin User Creation
Section titled “Step 6. Admin User Creation”Last but not least, we can create the initial user account to access the Report-Engine Application.
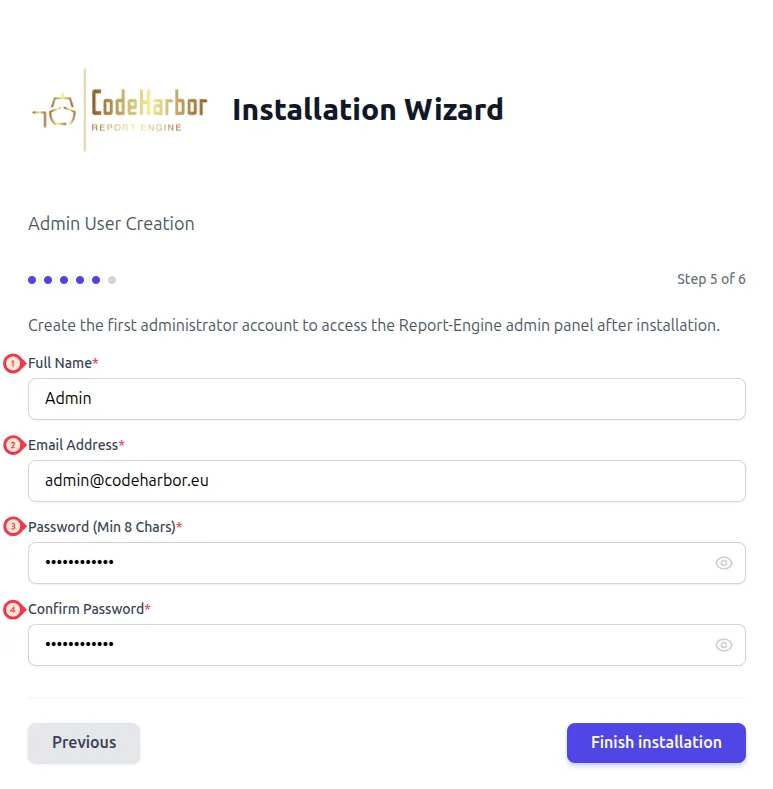
- Provide the full name of the administrator user.
- Provide the email address of the administrator user.
- Provide a secure password.
- Repeat the secure password.
Step 7. Finish Installation
Section titled “Step 7. Finish Installation”The installation is now finished, click on “Go to Admin Panel” to get started.
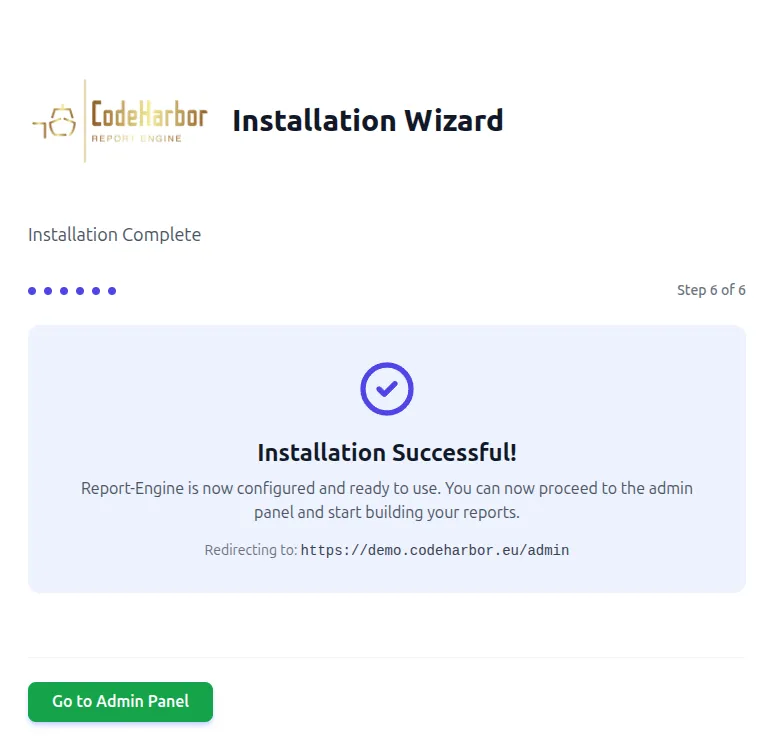
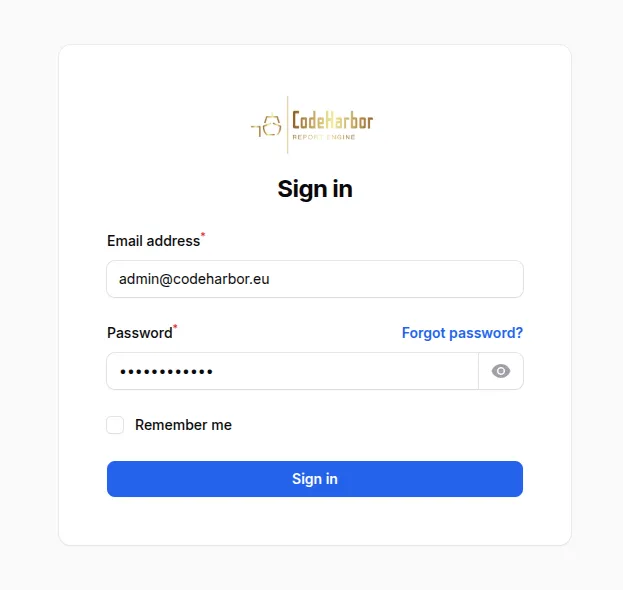
Step 8. Get started
Section titled “Step 8. Get started”To get started with the Report-Engine application, login with the initial user you have created in step 5.