Create your report
Now comes the heavy lifting.
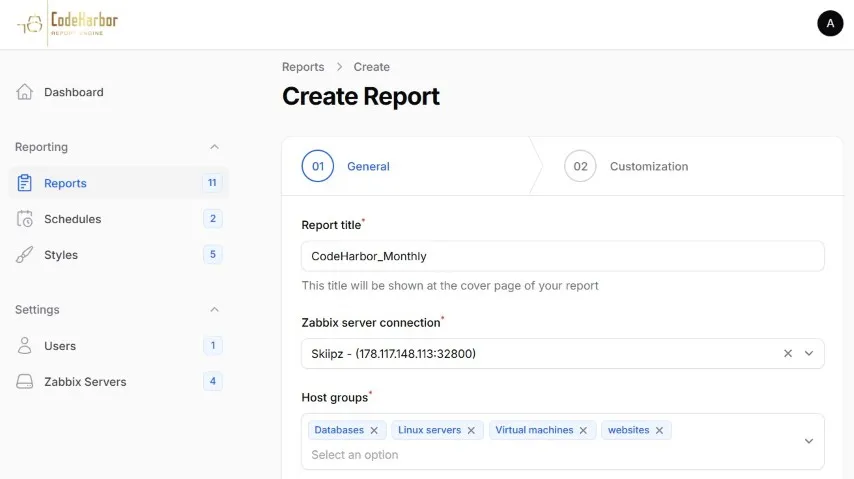
In this section you can create your report. Firstly you define the general report settings, such as Zabbix connection, hostgroups, style and reporting period. Once this is done, you can start creating the actual content of your report. This is done by adding different blocks to your report. These blocks can be set in any desired order. Most of the blocks can be used multiple times in your report.
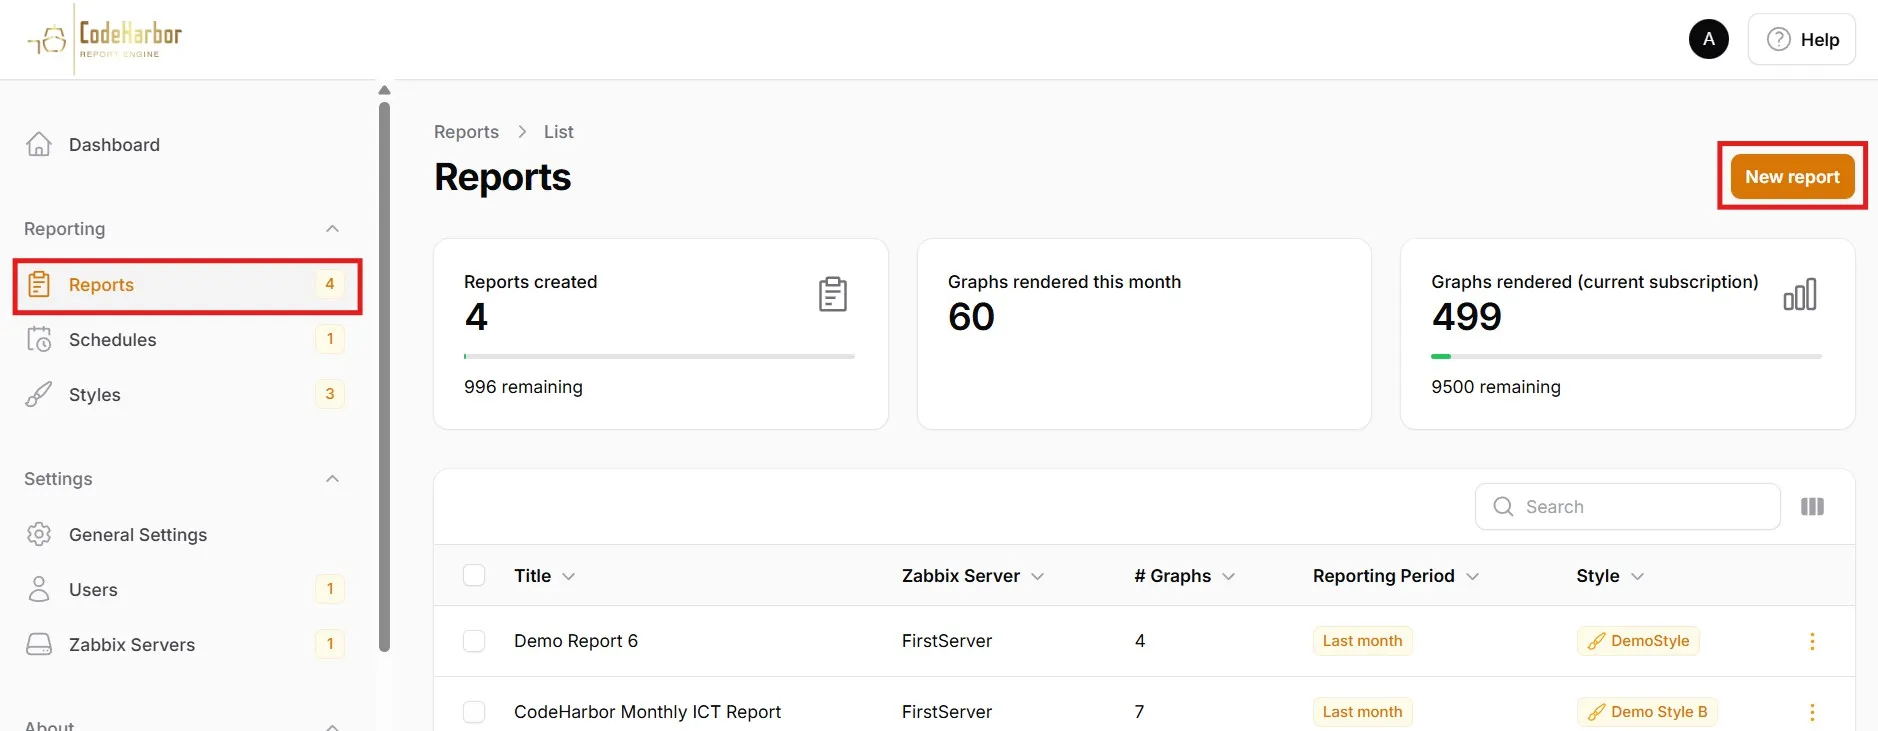
Go to “Reports” in the left menu
Select “New report”
general
Section titled “general”The first section contain the report details. Here you need to define several general values.
Report title
Section titled “Report title”This is a reference value. This name is also used in your report front-page and in the default E-mail subjects.
Zabbix server connection
Section titled “Zabbix server connection”From the dropdown you can select an available Zabbix connection.
Once the Zabbix Server is selected, it will perform an API call towards the Zabbix Server to fetch the available hostgroups. In case the API call fails, an error message is shown. Please verify your Zabbix Server connection settings.
Host groups
Section titled “Host groups”From the dropdown you can select the host groups which you want to include in your report. Multiple host groups can be selected from the list.
Report Style
Section titled “Report Style”Select the desired Style from the drop-down menu.
Reporting Period
Section titled “Reporting Period”Every report has a default timespan. This timespan defines the period the report will cover. Here you can select the dynamic timespan the report should have. from current and past days, weeks, months, years. “Custom Period” allows you to set a fixed period.
Click “Create & Build” to start building the Content of your Report
Report Customization
Section titled “Report Customization”In this section you can create the actual content of your report. Your report is built by adding different “Blocks” These blocks can contain different data. Several blocks can be selected once, other blocks can be added multiple times. The blocks can be edited to place them in different orders.
Blocks
Section titled “Blocks”Blocks are the main building elements of your report. by adding different blocks, you can create the report you need. Several blocks can be added multiple times, other blocks can only be added once.
Available blocks
Finalize your report
Section titled “Finalize your report”Do not forget to “Save Changes” before generating your report. A save message will be displayed on the top right of your browser.
Your report can now be executed manually, or automatically via your Create schedule functions
Go to “Reports” (left menu) to manage your reports.