Add your Zabbix server
Depending on your subscription, you can connect one or more Zabbix Servers to your Report-Engine solution. To enable multiple Zabbix servers, please request an Enterprise Quote
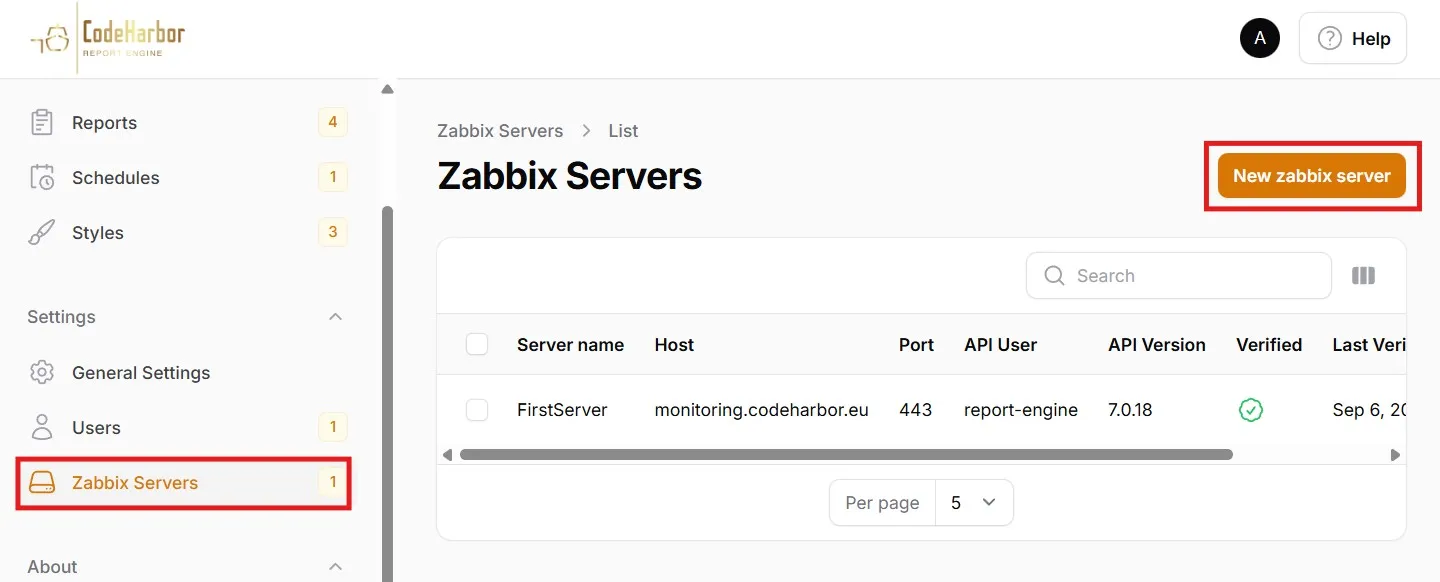
Go to “Zabbix Server” in the menu.
Select “New Zabbix Server”
Fill in the following parameters:
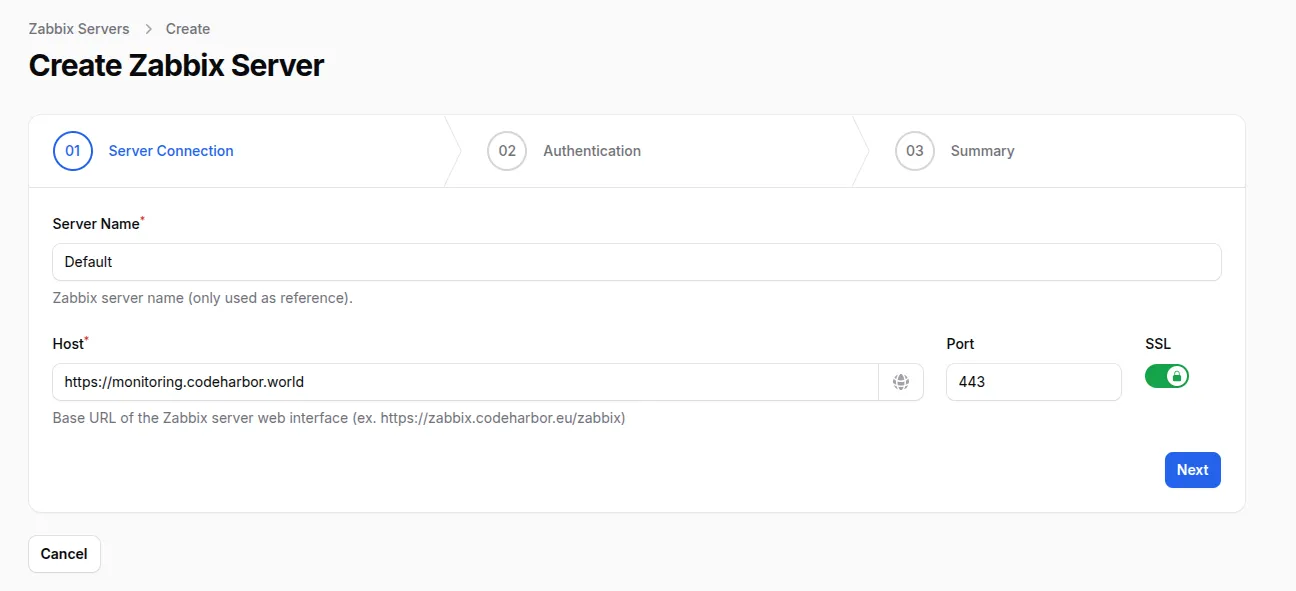
Server Name
Section titled “Server Name”Enter a name for your Zabbix server connection
Host / Port
Section titled “Host / Port”Enter the internet adress of your Zabbix server. This can be a dns name, or an IP adres.
The default Zabbix web interface ports are “443” and “80”.
In most cases, your Zabbix server is protected from the internet using a FireWall. In order to connect to the Report-Engine application, it is required to update your firewall allowing access.
For the Report-Engine to function correctly, allow your Report-Engine Server to access your Zabbix server.
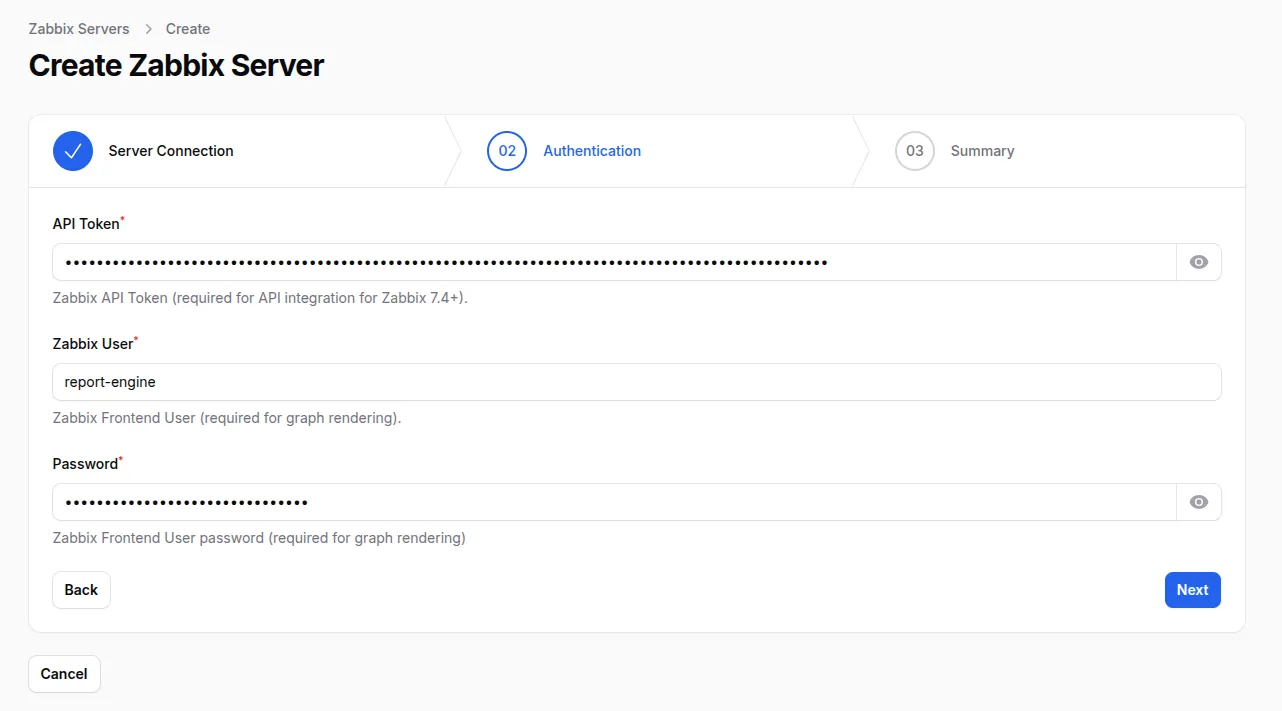
Authentication
Section titled “Authentication”The CodeHarbor Report-Engine for Zabbix works by connecting to your Zabbix Server, and fetching data using the Zabbix API . The user needs to have certain rights in order to function correctly. Enter a valid API user / Pass to access your Zabbix server
Starting from Zabbix 7.4 we require a Zabbix API Token to communicate with the API of Zabbix. We still need a user with Frontend access to fetch the graphs for your report.
Test and Create
Section titled “Test and Create”Once you save your data, by clicking “Test & create” , the CodeHarbor Report-Engine will attempt to create a connection towards your Zabbix server. A save result will appear on the top right of your browser.
-
When Success: Your Zabbix Server will be added to the overview, and verified as ok.
-
When Error: Please review the error on screen. In case of issues, contact us.